Making pixel art in the Procreate app is easy and fun! In this tutorial, we'll make a Pixel Brush. After that, in Part 2 of this tutorial, we'll set up the pixel guides and finish by re-sizing our work.
Let's start by making a new canvas. Mine is sized 2000px X 2000px. You can change the size if you wish, but make sure it's a perfect square.

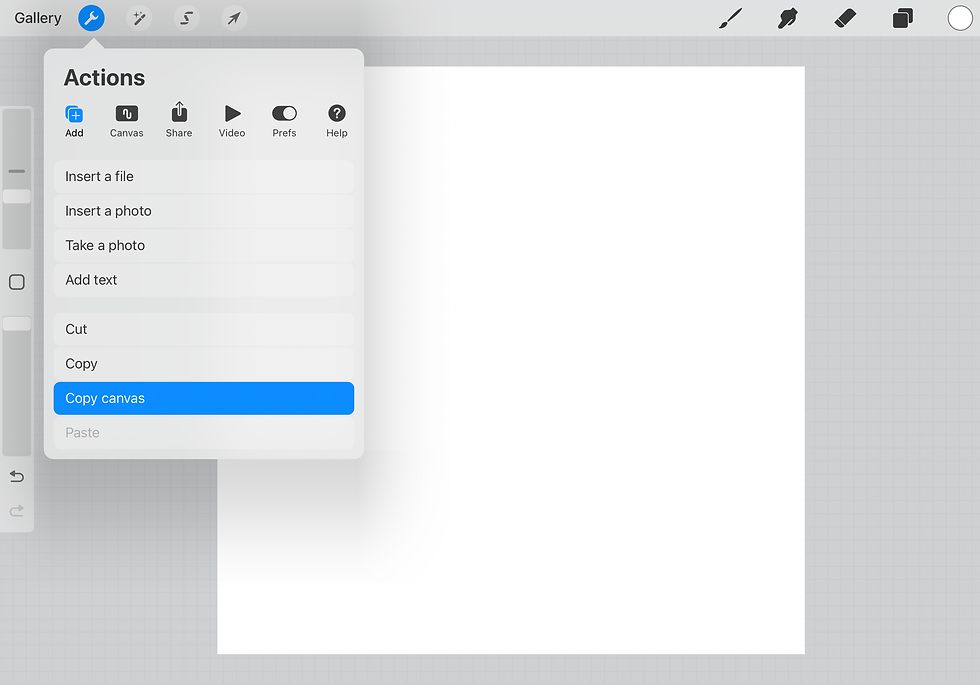
Then after that, let's copy the blank canvas by going to Actions > Add> Copy Canvas

Grab the Monoline Brush, under Calligraphy and duplicate it by dragging to the left. The new copy will have a little mark on the top right corner. Tap that brush to go into the Brush Studio.

On the left side menu, go to Shape and tap Shape Editor. Once you're there, go to Import > Paste. Now you should have a white square. Hit Done.

Go to Stroke Path and change all the settings to NONE

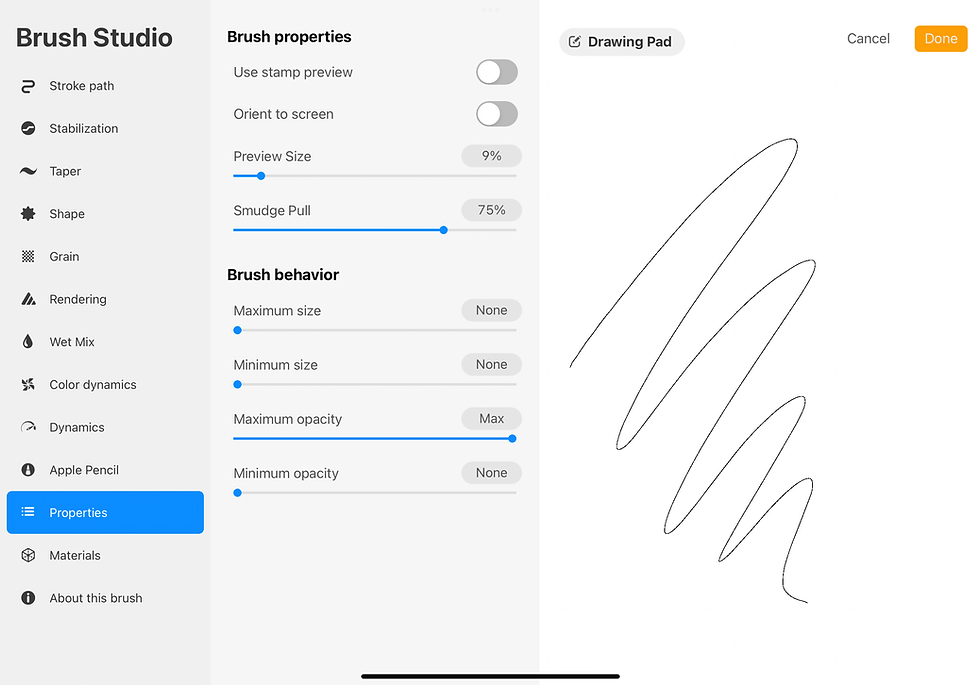
Then, go to Properties and change the Minimum to None. After that, change the Maximum size to NONE as well.
Make sure you change the minimum BEFORE changing the maximum, otherwise you might now be able to slide the max all the way down.

Finally, change the name and sign it in About this brush.

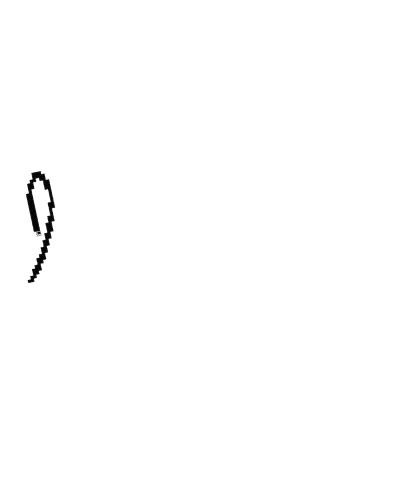
Your Procreate Pixel Brush is ready! Zoom in see it in action. Check out Part 2 of this tutorial where we talk about pixel grids and how to re-size your work without losing quality.

If you're feeling lazy, I've got your back. Grab a free copy of this brush HERE.
If you wanna learn more about making brushes in Procreate, check out my class Make your own Procreate Brushes - The Complete Brush Studio Guide at Skillshare. If you're not a member, you can use this link to get a free month trial and access tons of other awesome classes too!

Comments